

Continuing on from last time when we looked at cropping clarifications, today we are looking at rotating and scaling.
Rotate Image (free) 
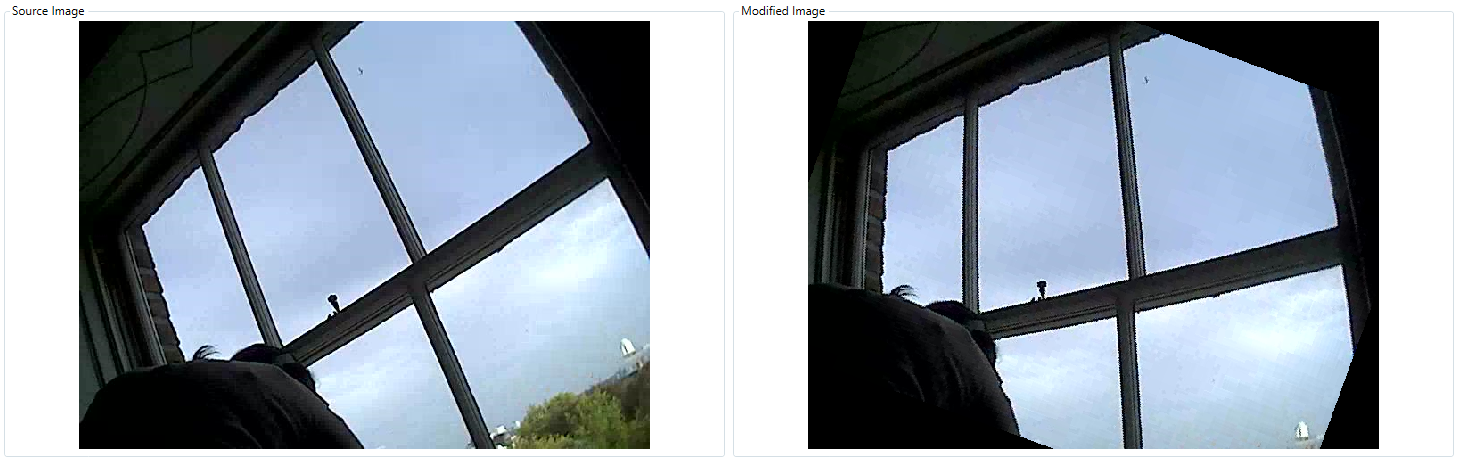
If you find that the camera is angled at an awkward angle and you want to move it but not by the typical 90 or 180 degrees then you can use the rotate image (free). Here you can set the angle yourself using the arrow keys. 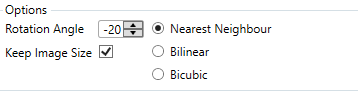 You also have 3 different interpolation methods (learn more about interpolation here), nearest neighbour, bilinear and bicubic. Nearest neighbour is set as default and is the fastest of the three but also produces the weakest results. Bilinear produces superior results to the nearest neighbour but it is more susceptible to generating interpolation artifacts like aliasing, blurring and edge halos. The last option, bicubic, produces smoother images than the other two options but takes significantly longer.
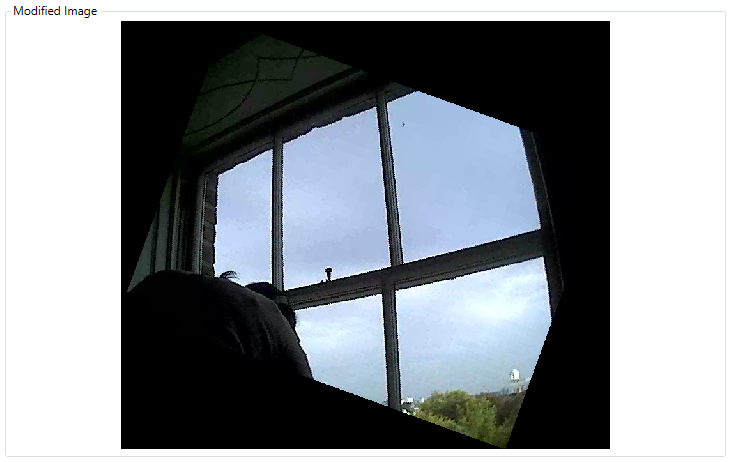
The last option you have is Keep Image Size. By default the image is the same size but if you rotate it some of the corners might be cut off. This option resizes the image so that it fits inside the frame.
Rotate Or Mirror 
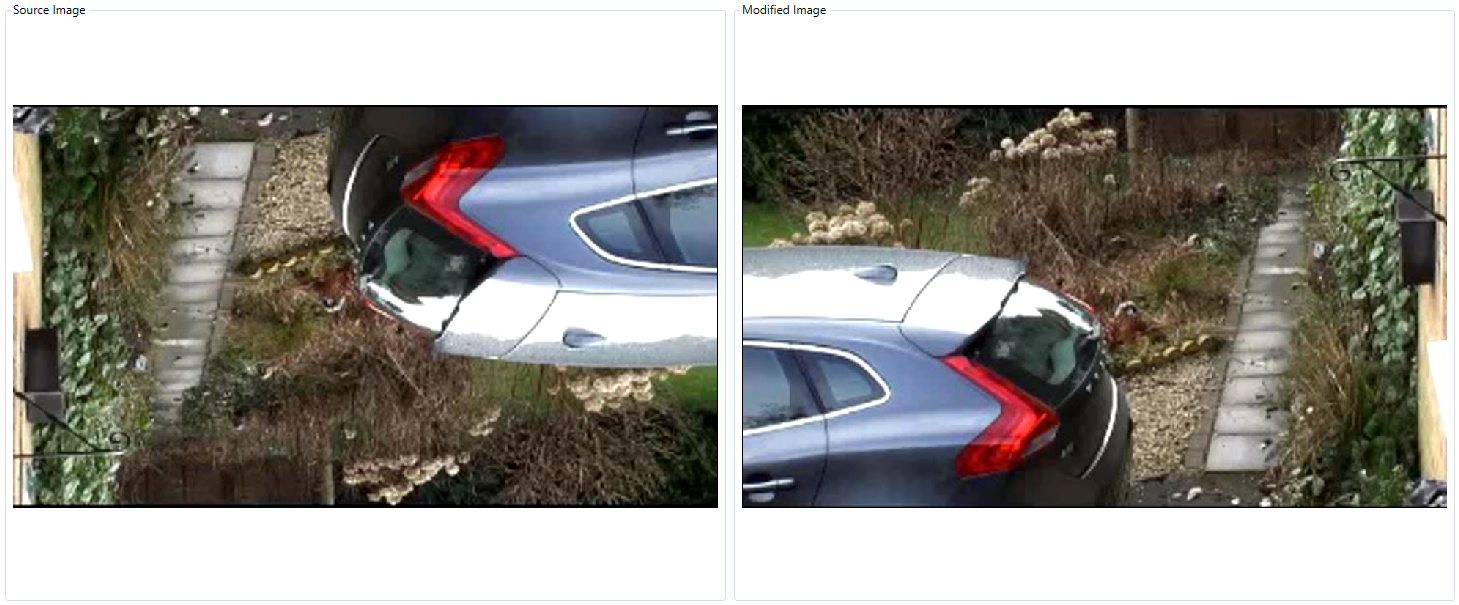
The Rotate or Mirror options is for when your camera or image has been flipped or turned upside down and you don’t need to be specific about the angle.
 The rotation angle options are 90, 180 or 270. The image can also be flipped on the vertical or horizontal axis if needed.
Scale Image 
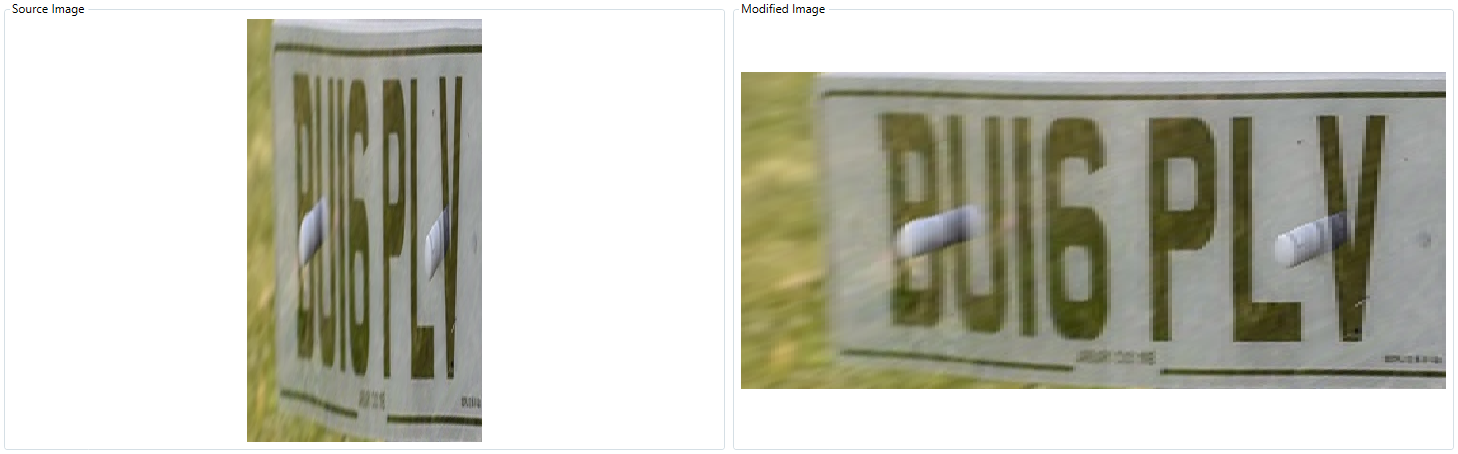
Scaling an image changes the size of the image but can also change the dimensions of the image.
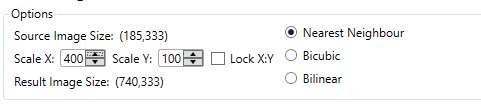 Using the arrow keys you can change the scale along each access. The Source Image Size tells you the dimensions of the original image and the Result Image Size below tells you the dimensions of the modified image. If you want to keep the aspect ratio the same you can Lock X: Y so that whatever is applied to the x axis is also applied to y. Like with Rotate Free you have the three interpolation methods, nearest neighbour, bicubic and bilinear.

 [/one_third][two_third last=”yes” spacing=”yes” center_content=”no” hide_on_mobile=”no” background_color=”” background_image=”” background_repeat=”no-repeat” background_position=”left top” border_position=”all” border_size=”0px” border_color=”” border_style=”” padding=”” margin_top=”” margin_bottom=”” animation_type=”” animation_direction=”” animation_speed=”0.1″ class=”” id=””]