

Continuing on with what’s new in 3.3, today we’ll look at the new pop out tabs, what’s different about groups and some new things in tags.
Pop out tabs
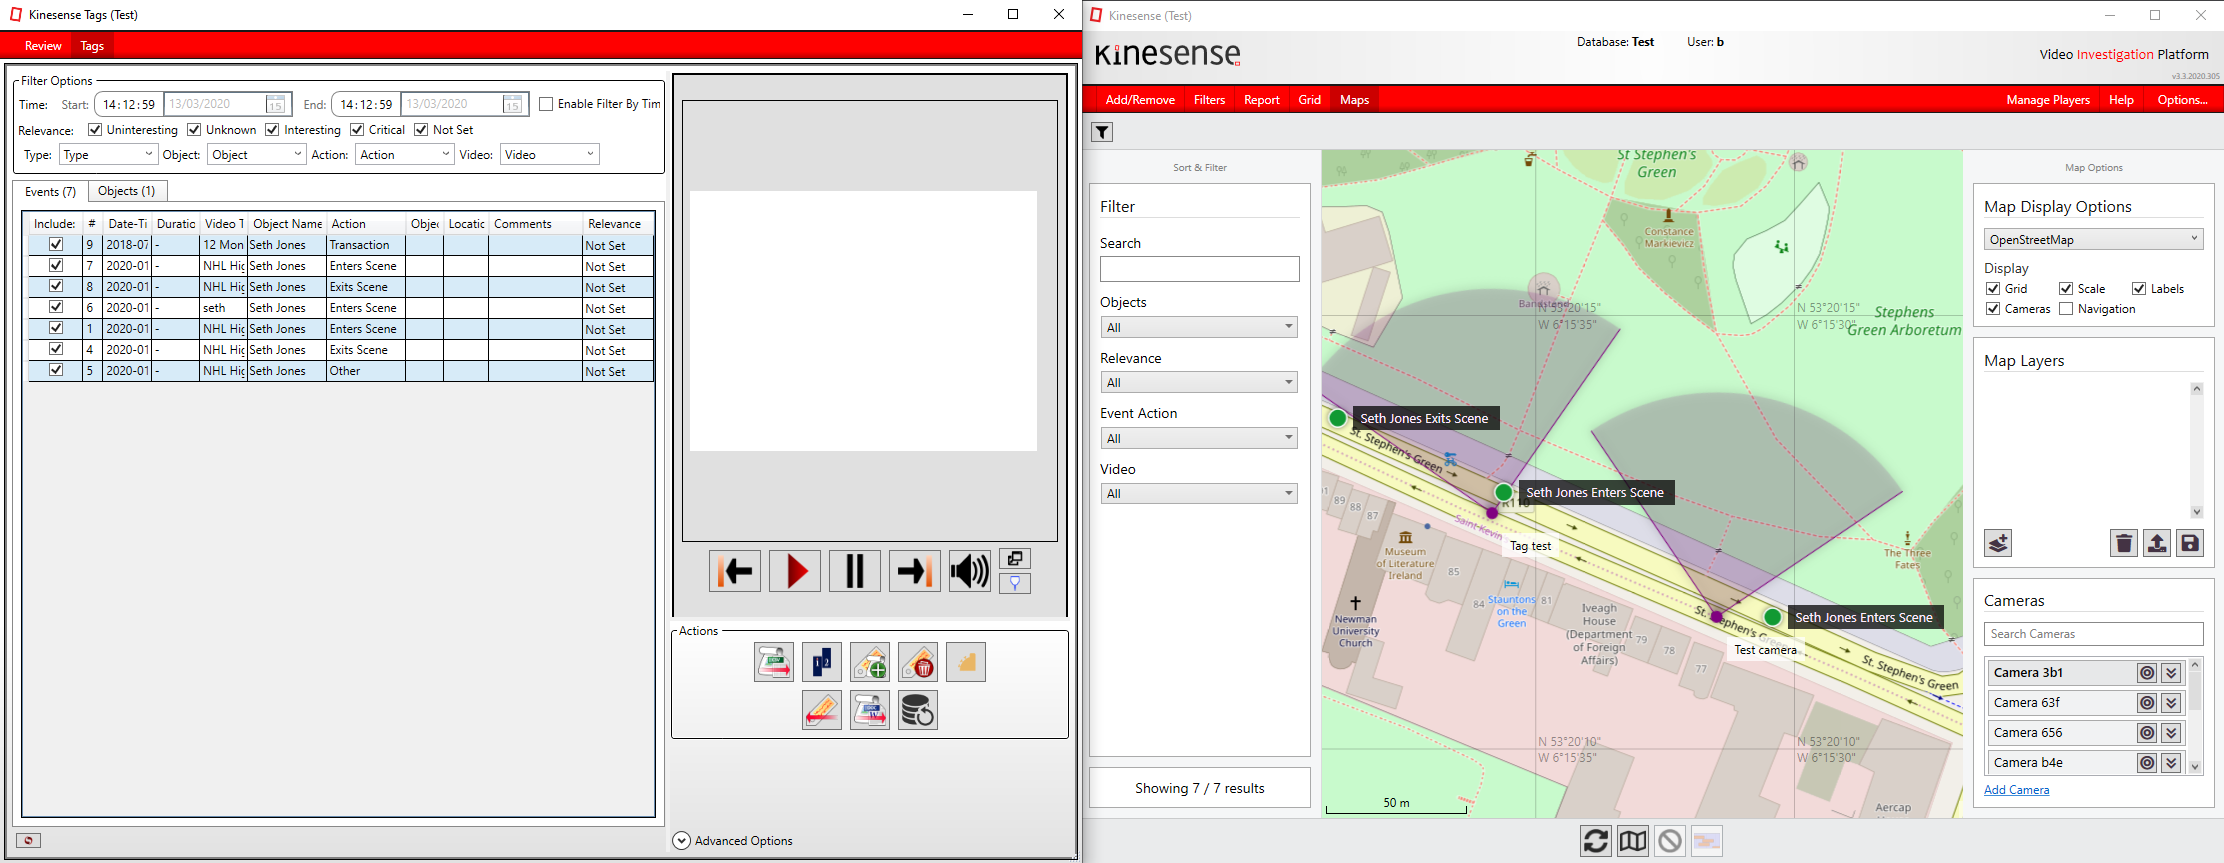
You can now pop every tab in Kinesense into it’s own window. This might be especially useful if you have multiple monitors. You will now be able to have the review tab on one screen and the maps tab in another. To separate out a tabs out you can either double click on the tabs name or drag the tab out to a part of the screen that doesn’t contain Kinesense. You can drag out as many of the tabs as you want into their own windows.
You can also combine tabs so that more than there is more than one set of tabs per window. Just drag a tab into the window you want it to appear in.
If you want the tabs to go back into the main Kinesense window, either drag them in or close them and they will automatically open up again in the main window.
Move video to different group
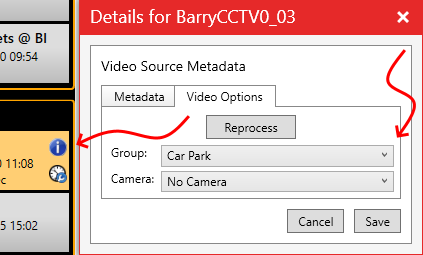
Previously if you wanted to move a video from one group to another you had to drag it, which could be a pain if you had a lot of videos. Now you can move videos to different groups by selecting the blue i button on the video in the Add/Remove tab. There you will see two tabs, Metadata and Video Options. Go to the video options tab and select the new group you want in the drop down. Once you’ve selected your group, click Save and the video list will be updated to reflect your changes.
Collapse all groups
A Collapse All Groups button ![]() now appears at the top of the video source list. Clicking this collapses all the group so that you can then expanse the groups as needed.
now appears at the top of the video source list. Clicking this collapses all the group so that you can then expanse the groups as needed.
Move tag object image
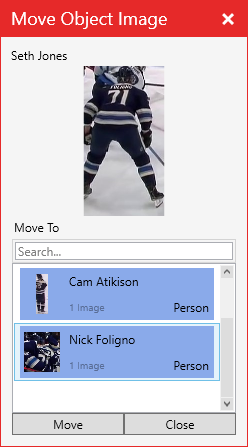
We’ve all done it, you’re tagging away suspects when suddenly you realise you’ve added your image of Nick to your Seth tag! Now instead of deleting that image and trying to tag it again, you can move it. Select the image you want to move in the objects detail area. Underneath the image select the Move image to different object button ![]() . A window will appear showing you the image you are able to move and giving you a list of objects you can move it to. Select the object an click Move. The image will now appear in the correct object.
. A window will appear showing you the image you are able to move and giving you a list of objects you can move it to. Select the object an click Move. The image will now appear in the correct object.
Go to tag object
In the Object details area in tags, we’ve now included the video source and the frame time of the image. The Jump to Review Timeline button ![]() has also been added to objects. Like you can with event videos, by clicking this you’ll be brought to the exact part of the timeline this object was taken from.
has also been added to objects. Like you can with event videos, by clicking this you’ll be brought to the exact part of the timeline this object was taken from.

 [/one_third][two_third last=”yes” spacing=”yes” center_content=”no” hide_on_mobile=”no” background_color=”” background_image=”” background_repeat=”no-repeat” background_position=”left top” border_position=”all” border_size=”0px” border_color=”” border_style=”” padding=”” margin_top=”” margin_bottom=”” animation_type=”” animation_direction=”” animation_speed=”0.1″ class=”” id=””]