

Clarifications again this week. Previously we looked at cropping clarifications and rotating and scaling. Today it is Noise reduction and Sharpness
When you want to remove noise from your licence plate or sharpen up an image of a suspect looking bunny, Kinesense has the tools for you!
Noise Removal 
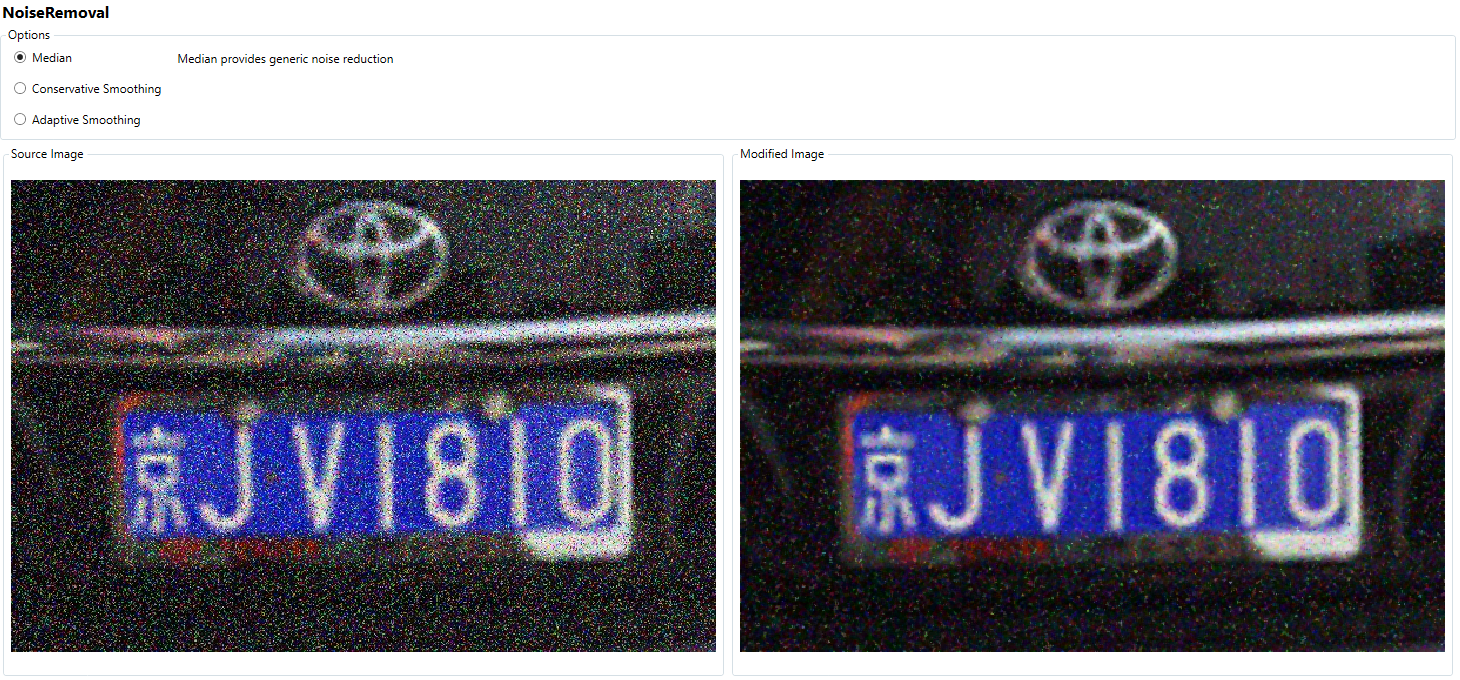 When your image or video contains a lot of noise, which often happens in low light situations, Kinesense has 3 different options to help reduce it.
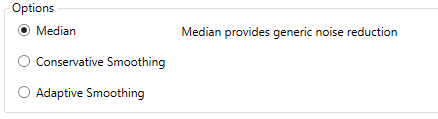 Median – Median is a generic noise reduction that replaces each pixel with the median value of its immediate neighbour
Conservative Smoothing – Uses a filtering algorithm designed to remove noise in the form of pixels of exceptionally high or low intensity, like Salt and Pepper noise. This reduction focuses on protecting general features more.
Adaptive Smoothing – This option is used to remove noise while preserving sharp edges within the image. It does not work well for salt and pepper noise.
Sharpening 
To remove some amount of ‘blurring’ from an image you can use the Sharpening Clarification.
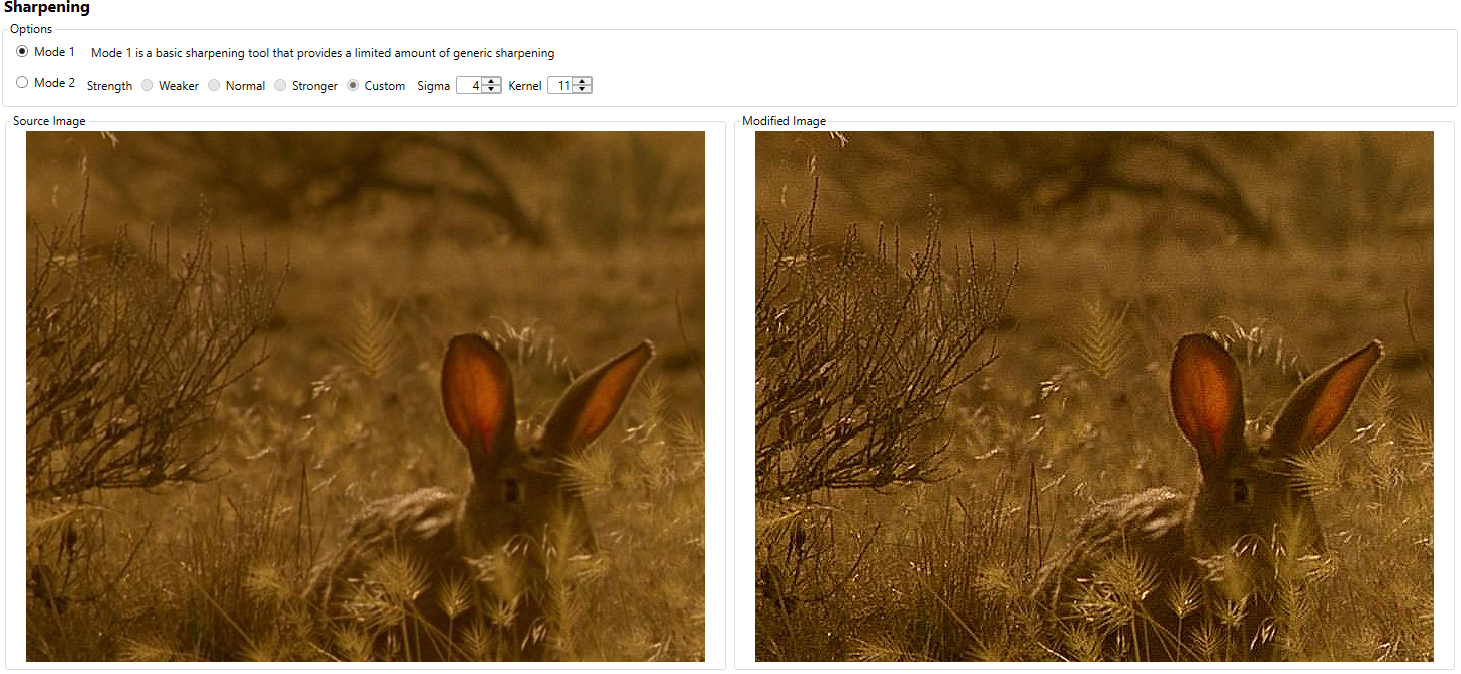
If we zoom in on the ear, you can see the effect more clearly…

There are two modes from this with different options.
Mode 1 – This is a basic sharpening algorithm that can quickly provide a reasonable result
Mode 2 – This uses Gaussian sharpen to create a better result but this takes significantly more processing. There are 3 set options, Weaker, Normal and Stronger, and a Custom option that lets you set the sigma and kernel. These are Gaussian settings that you can learn more about here.
Kinesense also has a special ‘deblur’ clarification, which we will deal with in a future post.

 [/one_third][two_third last=”yes” spacing=”yes” center_content=”no” hide_on_mobile=”no” background_color=”” background_image=”” background_repeat=”no-repeat” background_position=”left top” border_position=”all” border_size=”0px” border_color=”” border_style=”” padding=”” margin_top=”” margin_bottom=”” animation_type=”” animation_direction=”” animation_speed=”0.1″ class=”” id=””]